Dishes, ingredients, restaurants, and utensils: gastronomic photography is one of the most enduring trends in the world of photography as it is used in advertising, editorials, and even to define the image of restaurants and brands. Some photographers only dedicate themselves to this type of photography. Without a doubt, it is a job characterized by being fun and different compared to others. It is not about simply putting an apple, and that’s it, but about looking for a special touch to spark enthusiasm in public and invite them to consume or buy. It is necessary to decide on the right lighting, composition and elements. There are thousands of tricks to photograph food. We will tell you the most important ones and how you should apply them for each shot.
Natural Light and Artificial Light Are Your Best Friends
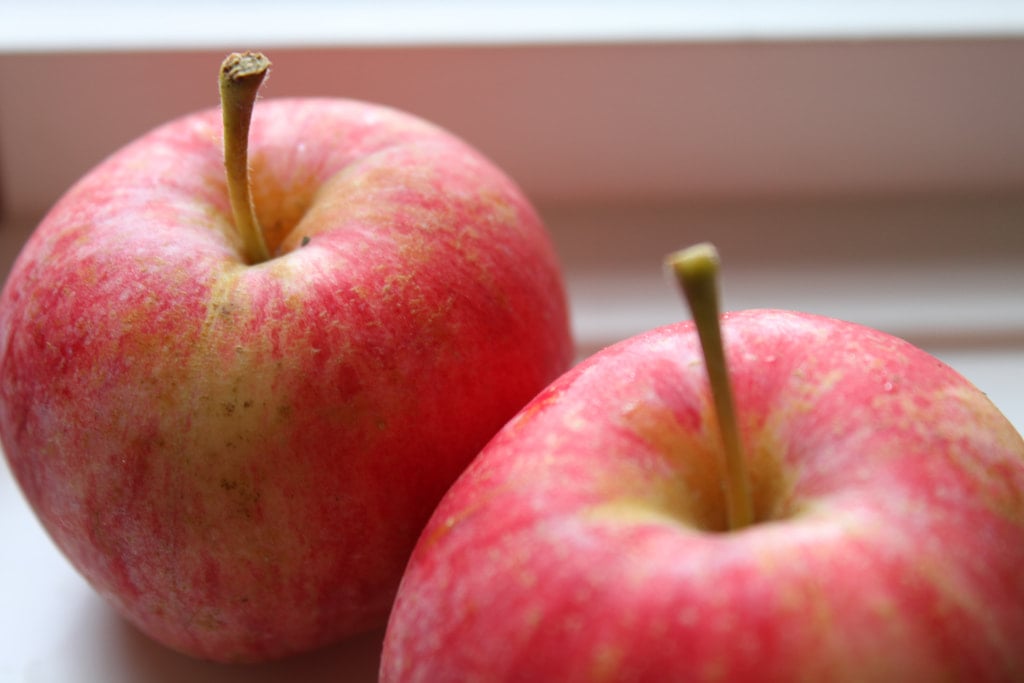
When photographing, foodies fall into the categories of those who choose natural or artificial light. Which is better? The advantage of natural light is that it adds realism and authenticity to an image, but this does not mean that you need direct sunlight, but rather that you look for a window or space where you have indirect rays, either next to the kitchen or in your room. These apples are near a window, so they get the necessary light to highlight certain details.
If you choose an interior, it is best to use a tripod, no matter what speed you drive. The tripod prevents a blurred or blurred photo. Choose light or low-contrast backgrounds so that only your cymbals stand out. Similarly, opt for small portions because a full shot gives a different message than what you are looking for.
On the other hand, artificial light has the advantage that you will always control it, regardless of the time or place. If you use this light, never use a direct flash, but a side flash, preferably a light diffuser. To have the right contrast, you also need a reflector to bounce the light and avoid having abrupt shadows, such as the one on the plate or yours. This photo could be taken even at night: good light management mimics morning light. With the right tools and a little experience, you will have excellent results.
Regardless of the light you choose, the side is decisive: it gives food texture, defines its contour and even gives it more volume. And don’t forget always to move your position, don’t take thousands of photos of the same frame, experiment and have fun!
Order, Patterns, Arrangement and Arrangement
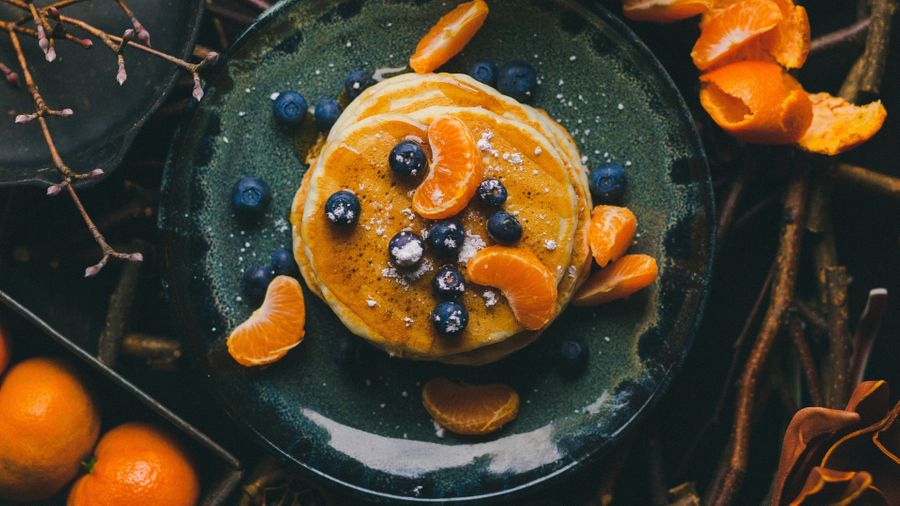
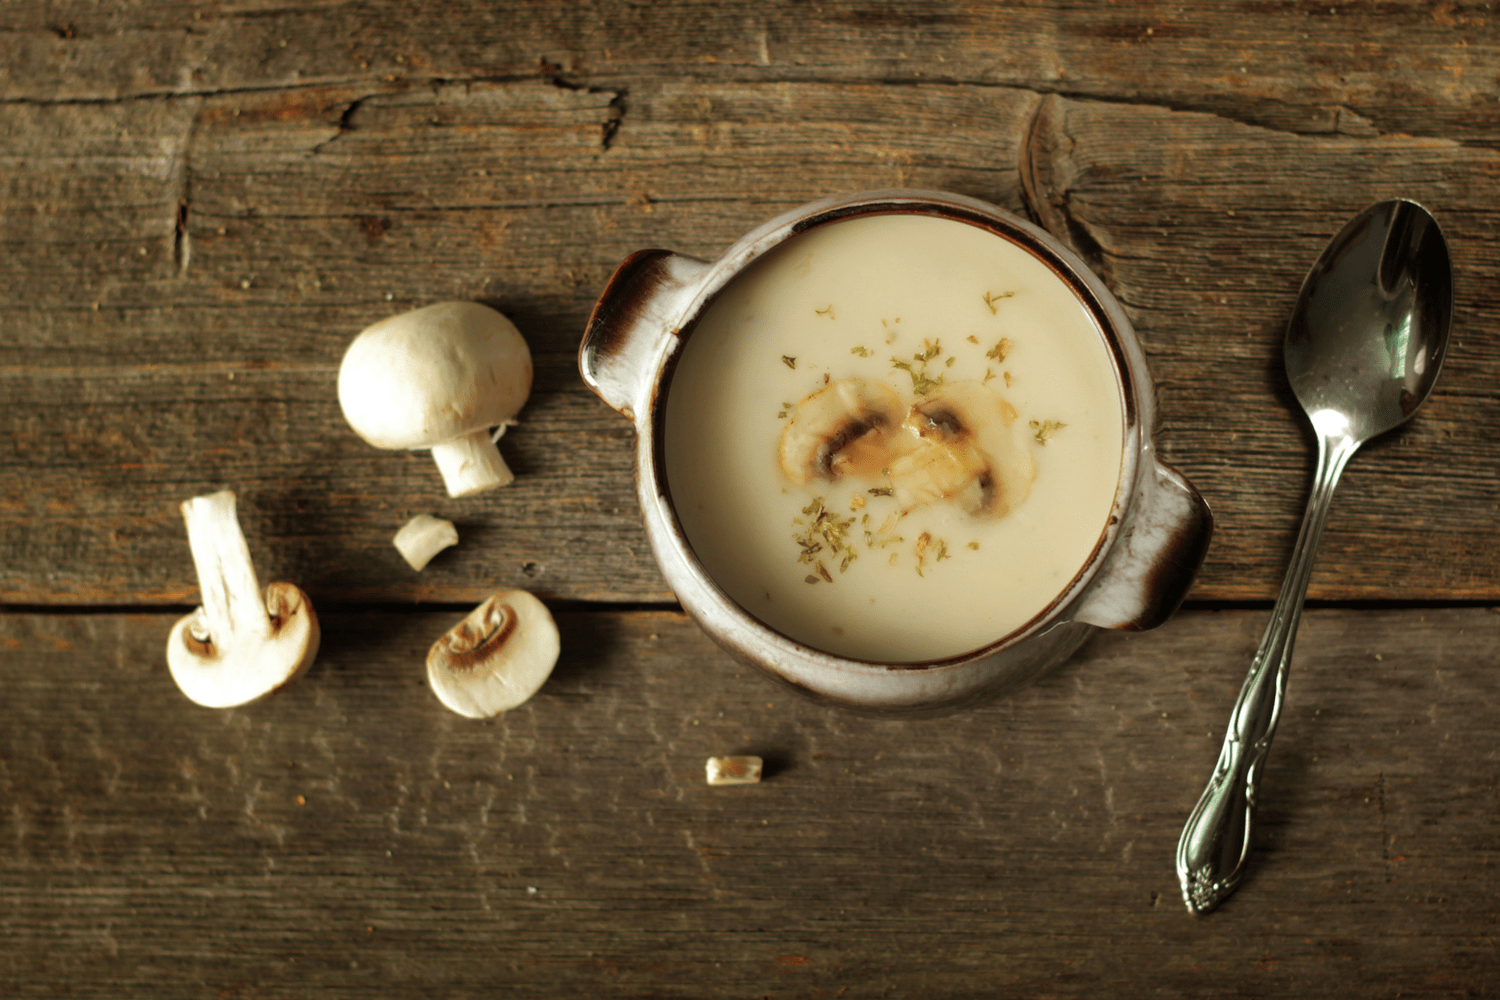
In cinema, a storyboard is made to have a clearer idea of what the director wants for each scene. Taking one for a food photograph is an excellent suggestion to figure out what elements you need and organize everything from the beginning, according to the frames you require. We recommend that you get involved already in the preparation of the food. The invested time will help give a clearer idea of the arrangement in your composition. For example, what ingredients are photogenic, and can I include them in the photo? What is the proper order appropriate for your image? If you want a picture of a soup, you can add something else to have a peculiar and striking arrangement while the main dish is the centre of attention. Look at the mushrooms: they are not all of the same proportion, but they balance it so that it is not the typical photo of a soup with its spoon.
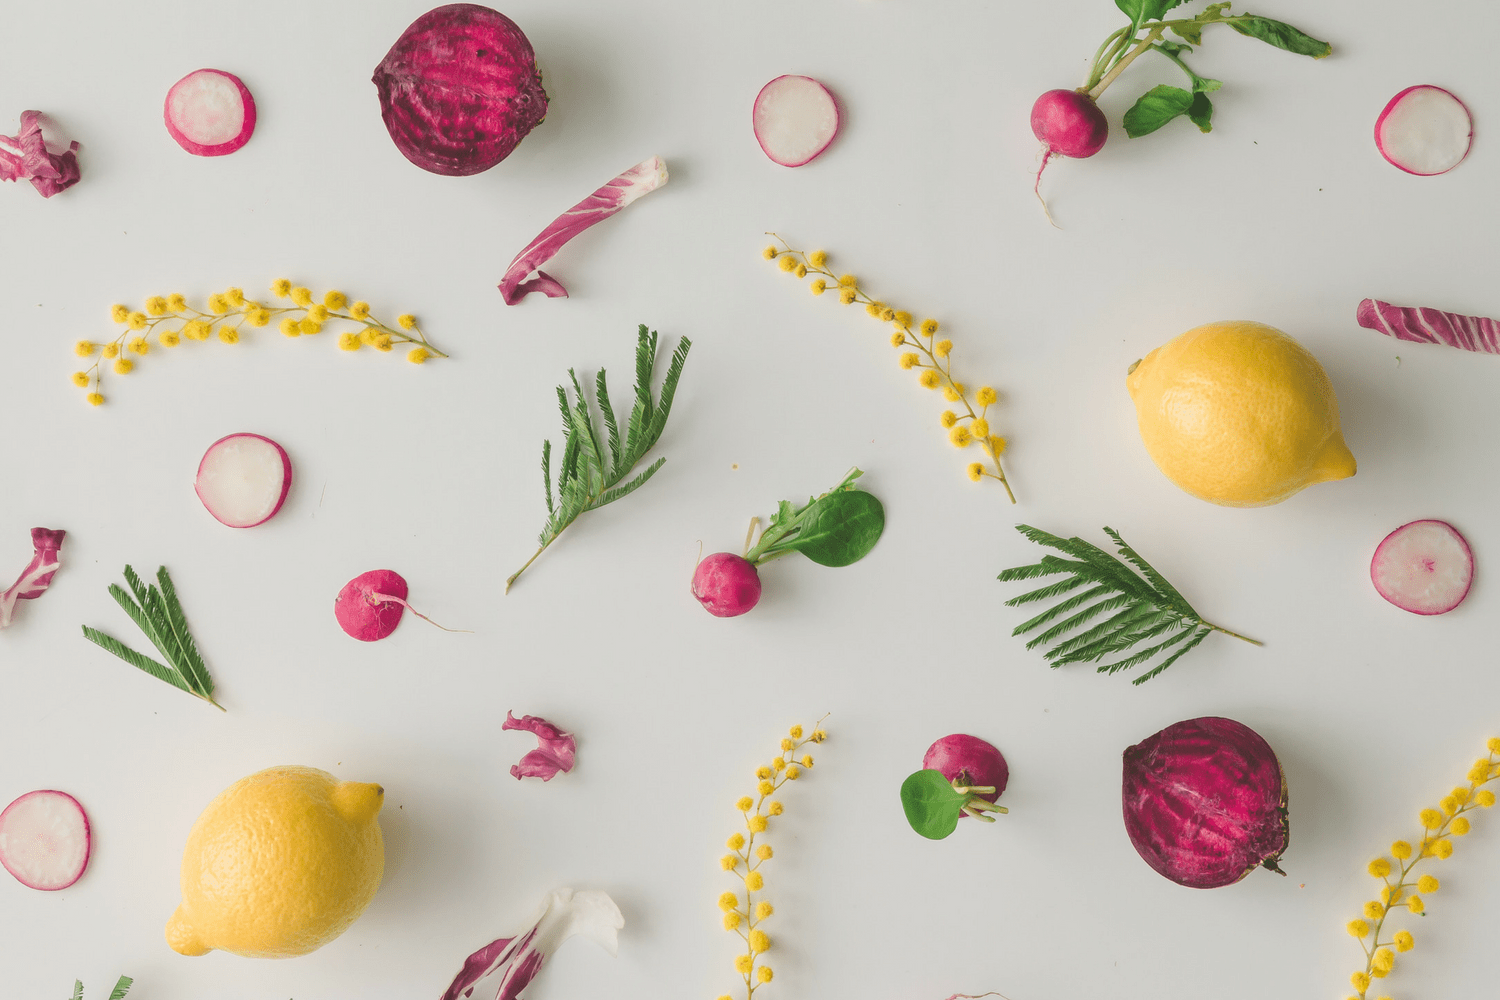
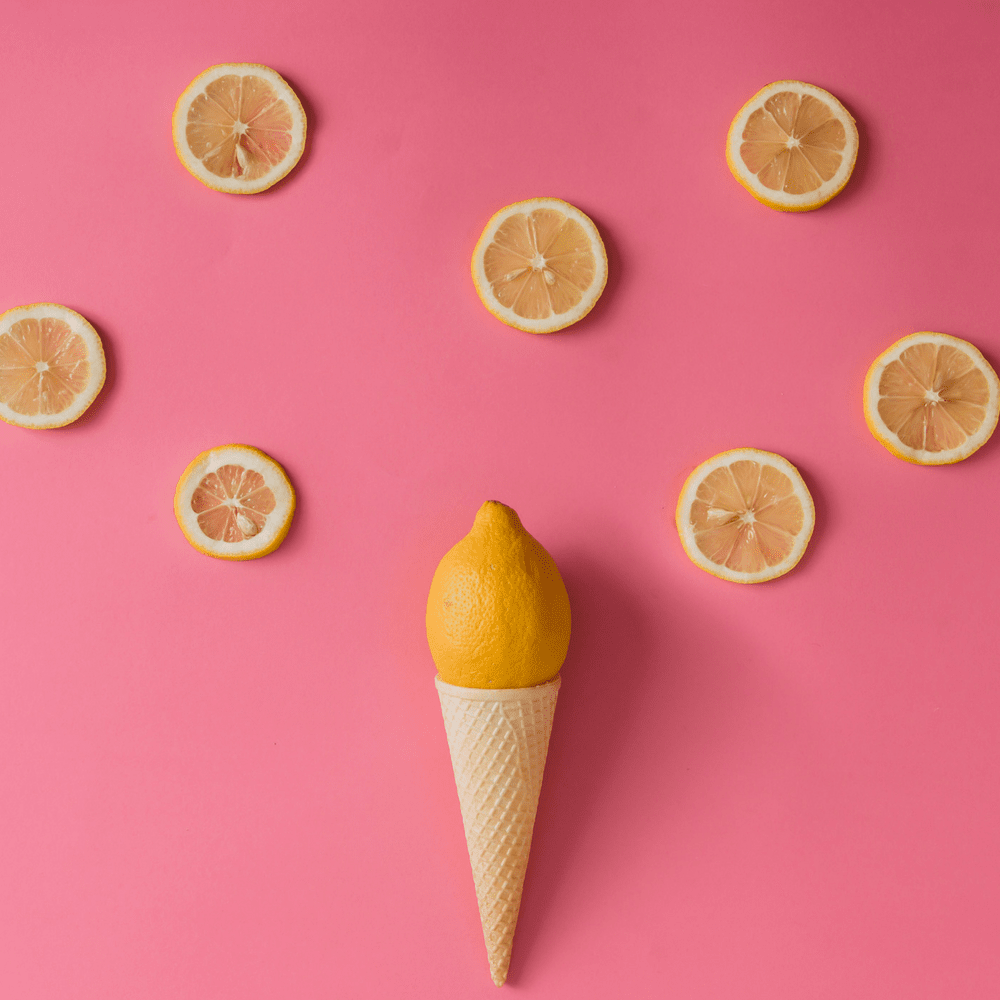
Many people love visually appealing and colourful patterns, such as in the photos below. Not only does this type of photography highlight a particular element, but it also focuses on the entire frame. It is also one of the favourites in the gastronomic publishing world.
Want to know more tricks? Check out the second part of this article here!
Pingback: Top Secrets To Making Your Food Photos Look Deliciously Tempting (Part 2) – Good vacation
Pingback: Top Secrets To Making Your Food Photos Look Deliciously Tempting (Part 3) – Good vacation
Pingback: Top Secrets To Making Your Food Photos Look Deliciously Tempting (Part 4) – Good vacation